DUC - Download Upload Center
User manual
Group
Admin
Permission
-
Manage
file: Download, Upload, Rename, Delete file
-
Manage
group: Create sub group, Update group, Delete group, select users and
configured user, set file policy and set notification
-
Change
your password (External user)
Description:
1. Login page
Go
to DUC page via this link: http://duc.fabrinet.co.th/
Login
as Group Admin then click Login button.
For
example: user testadmin has permission as Group Admin of group Test_BU1.
Note For Normal user
document please see http://duc.fabrinet.co.th/duc/document/usermanual.htm
2. Main page
When
user testadmin login pass and go to main page you will see ![]()
![]()
![]() in a tab bar of group Test_BU1/.
in a tab bar of group Test_BU1/.
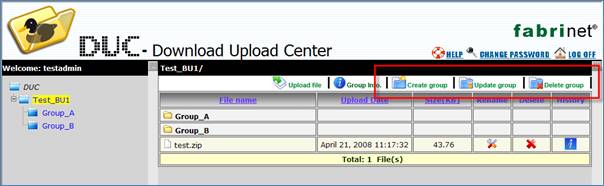
Picture 1: Main page
1.1 ![]() Click this picture to create group please
see Create group section.
Click this picture to create group please
see Create group section.
1.2 ![]() Click this picture to update group please
see Update group section.
Click this picture to update group please
see Update group section.
1.3 ![]() Click this picture to delete group please
see Delete group section.
Click this picture to delete group please
see Delete group section.
3. Create group
Click ![]() from Main page. You will go to create
group page. The created group will be sub group of the selected group
Test_BU1/. You can see parent group (Test_BU1/) in the tab bar.
from Main page. You will go to create
group page. The created group will be sub group of the selected group
Test_BU1/. You can see parent group (Test_BU1/) in the tab bar.

Picture 2: Create Group page
Input data:
3.1 Group name: input name of group, a maximum length
is 30 characters and must not be special character (i.e /, \ , �, �).
3.2 Owner (username): select username in drop down list
that request to create this group.
3.3 Select Users in Group:
3.3.1
Select
user name in List of users. The List of users will list all users in DUC system
except users in parent group that already have already inherited permission to
access this group so you don�t have to map these users again.
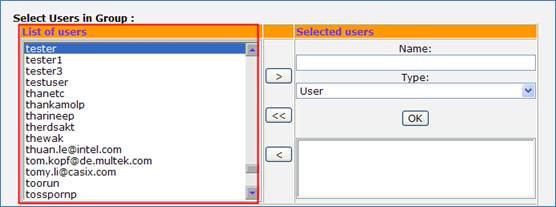
Picture 3: Select user in group 3.3.1
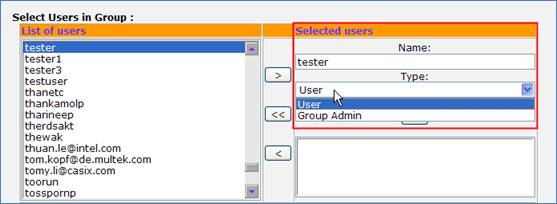
3.3.2
Click
> button the selected user will move to Name text box on the right side.
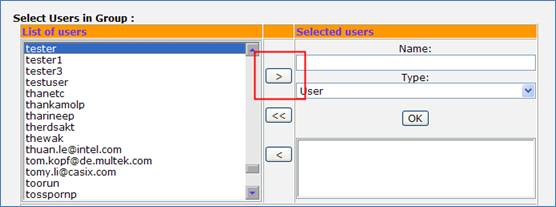
Picture 4: Select user in group 3.3.2
3.3.3
Select
Type for user. Type of user can be User or Group Admin.
Picture 5: Select user in group 3.3.3
3.3.4
Click
OK button, the system will map user name and user type then show the configured
user in the below textbox.
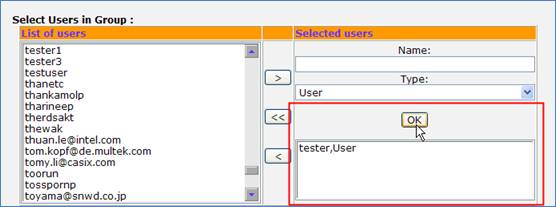
Picture 6: Select user in group 3.3.4
Note
-
You
can add user more than 1 user.
-
If
you want to remove a selected user in group. Select a user in the below textbox
then click < button.
-
If
you want to clear selected users in group please click << button.
-
User
in parent group will inherit permission to sub group.
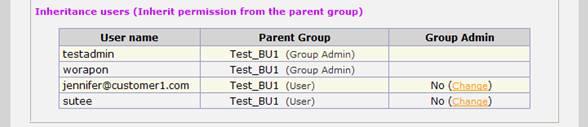
3.3.5
Inheritance
users (Inherit permission from the parent group): for list user that have inherited
permission from parent group. And can update the user in parent to Group Admin
of sub group.
The list of users will be
shown
-
User
name
-
Parent
Group: Parent group
name and permission on the group.
-
Group
Admin: Status Group
Admin of this group. If a user already has Group Admin permission it won�t show
the status. If the account has Nornal User permission then it will show the status
and you can change an user to be group admin by click Change)
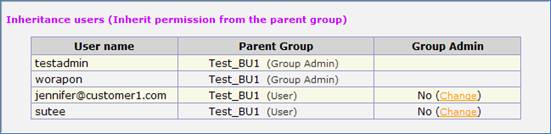
Picture 7: List of users in parent groups
After Click Change the status
will be changed to Group Admin of this group.

Picture 8: After click change the status
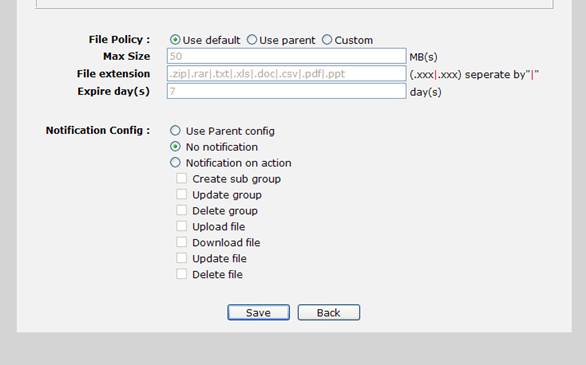
3.4 File policy:
Group admin can configure upload file
policy of group.

Picture 9:
File policy
3.4.1
Max
size: maximum file size that can be uploaded to server per file.
(Please be notified that uploading the amount of large files at
one time may cause the internet bandwidth problem.)
3.4.2
File
extension: the file extension that allow to upload to server.
3.4.3
Expire
day(s): the number of days that file can be stored in the system after that the
system will automatic delete file from server if file is expire.
Note
-
You
can use default policy by select Use default. The system will display the
default value in the configuration textbox (default).
-
You
can use group parent configure policy by select Use parent. The system will
display the group parent configuration.
-
You
can configure yourself by select Custom. The system will enable the
configuration textbox then you can update the policy.
3.5 Notification Config: user can set notification
configuration by action. The system will automatic send E-mail to notify users.
![]()
![]()
![]()
![]()
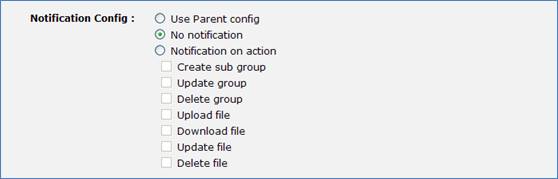
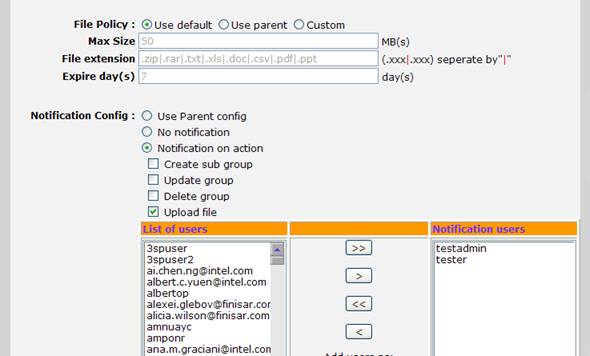
Picture 10:
Notification configuration
3.5.1
Use
parent configuration: The configuration will follow by parent configuration.
3.5.2
No
notification: don�t notify user (default).
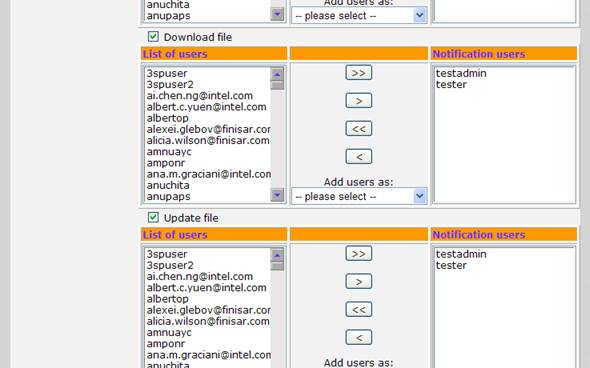
3.5.3
Notification
on action: select action and user per action that you want to notify. When you
select it the below action checkbox will be enabled. For example: Notify user
on Action Upload file, Download file, Update file and Delete file.
3.5.3.1
Select
Notification on action.
3.5.3.2
Select
Upload file action. The list of all users will be shown for you to select users
that will be notified when file was uploaded to this group.
3.5.3.3
Select
user in List of users at the left side. You can select more than 1 user.
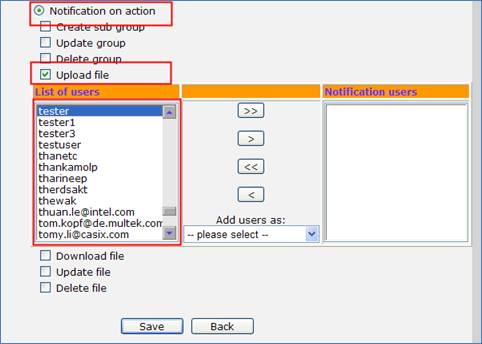
Picture 11:
Select action and user
3.5.3.4
Click
to add the selected user to Notification users at the right side.
1.
Click
>> to add all selected users.
2.
Click
> to add a selected user.
3.
Click
<< to clear all selected users in Notification users.
4.
Click
< to remove the selected user in Notification users.
5.
Click
Add users as to add users as same as the selected user in
-
Users
list in Group
-
Create
Sub Group Action
-
Update
Group Action
-
Delete
Group Action
-
Download
File Action
-
Update
File Action
-
Or
Delete File Action
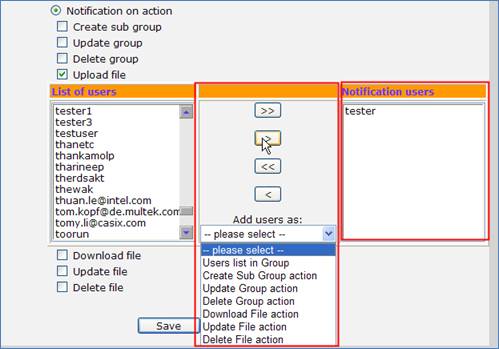
Picture 12:
Add notification users
3.5.3.5
Select
the others action and do the same as Upload file action.

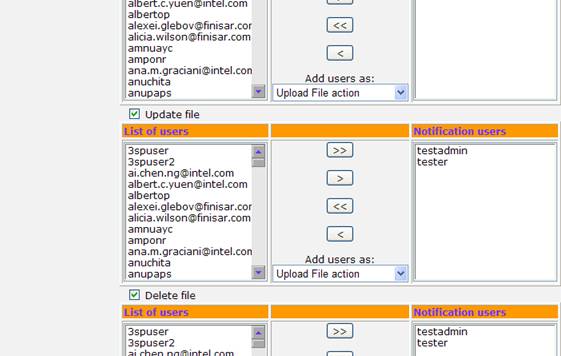
Picture 13:
Configure notification
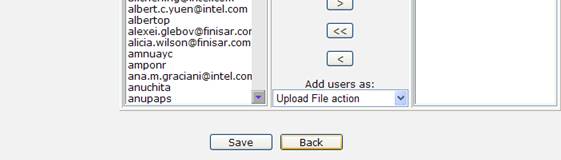
3.6 Save and Back button
![]()
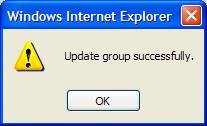
3.6.1
Click
Save button if you complete input data. The system will popup result create
group.
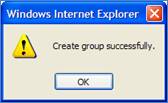
Then
the system will go to main page and show the created group.

Picture 14: Main page
3.6.2
Click
Back button to cancel create group and go to main page.
4. Update group
Click ![]() from Main page. You will go to update
group page. User can update the inputted data as same as Create group.
from Main page. You will go to update
group page. User can update the inputted data as same as Create group.
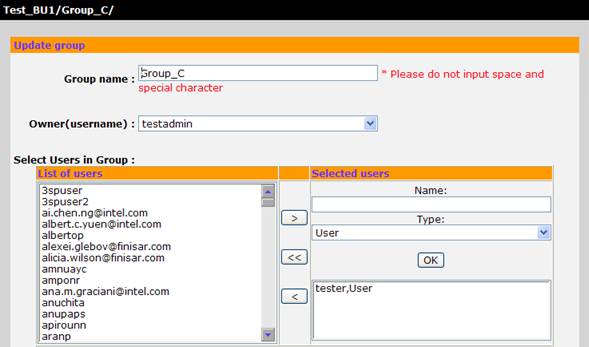

Picture 15:
Update group page
If
you complete input data then click Save button to commit update group. The
system will popup result update group and go to Main page. If you want to
cancel click Back button to cancel update group and go back to Main page.
5. Delete group
Click ![]() to delete group. The system will pop up a
confirm message box.
to delete group. The system will pop up a
confirm message box.
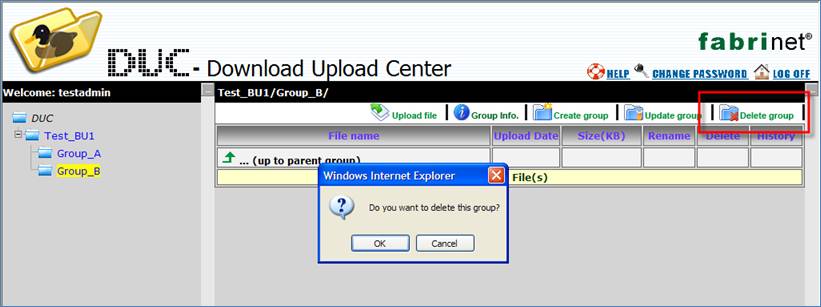
Picture 16:
Delete group
5.1 If you really want to delete this
group click OK button. The system wills popup message to confirm delete all
files and all sub groups.
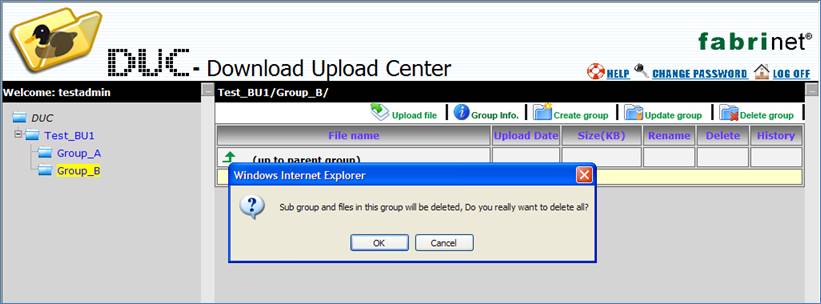
Picture 17:
Confirm delete group
5.2 If you really want to delete all sub
groups and all files in group click OK button. The system will go to result
page to show result delete group.
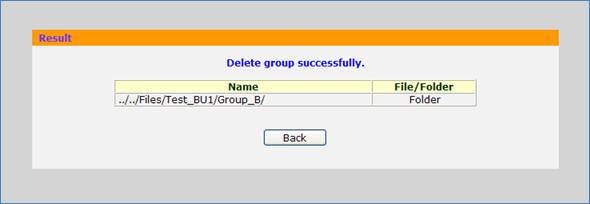
Picture 18:
Result delete group
5.3 And then click Back button to go to
main page.
Note
Click Cancel button in popup message to cancel delete group.
Create by: Rassawan W. (Ext.1126)
Create date: July 16, 2007
Update date: April 25, 2008
Update date: April 28, 2009